
Immerse yourself in the world of fruit preservation as we delve into DIY jam making. Unlock the secrets of perfect spreads, from berry delights to tangy marmalades, and enjoy the fruits of your labor year-round.
Preserve and Savor DIY Fruit Jam Making for Homemade Happiness
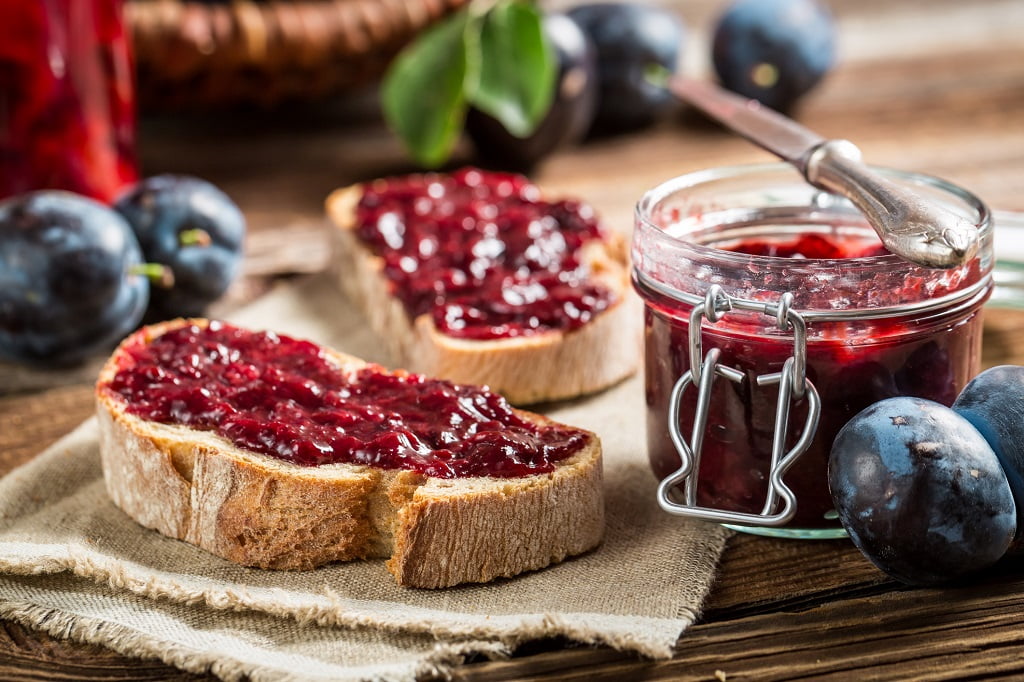
There’s something truly special about homemade fruit jam. The sweet aroma, the vibrant colors, and the burst of flavor can transport you back to simpler times and bring a sense of joy to your taste buds. Making your own fruit jam is not only a delicious endeavor but also a rewarding one. It allows you to savor the flavors of the season, preserve the abundance of fresh fruits, and create a jar of happiness that can be enjoyed long after the harvest is over.
The beauty of DIY fruit jam making lies in its simplicity. With just a few basic ingredients and some patience, you can transform ripe, juicy fruits into a spreadable delight that will brighten up your breakfast toast, elevate your afternoon tea, or add a burst of flavor to your favorite desserts.
Making your own jam is also a great way to preserve the fruits of the season. When you make jam, you’re essentially capturing the flavor and freshness of the fruit at its peak. This means that you can enjoy your favorite jams all year long, even when the fruit is out of season.
So, how do you make DIY fruit jam? It’s actually quite simple. Here are the basic steps:
- Choose your fruit. To begin your jam-making adventure, start by selecting the freshest, ripest fruits you can find. Whether it’s plump strawberries, fragrant peaches, or tangy raspberries, choose fruits that are at their peak of flavor. This will ensure that your jam is bursting with natural sweetness and vibrant taste.
- Once you have your fruit, wash and prepare them by removing any stems, pits, or seeds. Depending on the fruit, you may need to peel or chop them into smaller pieces. Remember that the size and texture of the fruit will affect the consistency of your jam, so consider how chunky or smooth you want it to be.
- Add sugar. The amount of sugar you need will depend on the sweetness of the fruit. A good starting point is 1 cup of sugar for every 4 cups of fruit.
- Cook the jam. Bring the fruit and sugar to a boil over medium heat. Reduce the heat and simmer for 20-30 minutes, or until the jam reaches the desired consistency.
- Test the jam for doneness. To do this, place a small amount of jam on a cold plate. Let it cool for a few minutes, then run your finger through it. If the jam wrinkles, it’s done.
- Fill the jars. Ladle the hot jam into clean jars, leaving 1/2 inch of headspace. Wipe the rims of the jars with a clean damp cloth.
- Seal the jars. Apply lids and rings to the jars. Process the jars in a boiling water bath for 10 minutes.
- Let the jars cool. Once the jars have cooled, store them in a cool, dark place.
With these simple steps, you can make your own delicious and homemade jam. So get out there and start preserving the fruits of the season!
Additional Tips
Here are some additional tips for making DIY fruit jam:
- Use ripe fruit. The riper the fruit, the sweeter the jam will be.
- Use a variety of fruits to create different flavors.
- Don’t overcook the jam. Overcooking will make the jam tough.
- Use a candy thermometer to test the jam for doneness. This will ensure that the jam reaches the correct temperature and thickens properly.
- Can your jam in different sizes of jars, so you can have just the right amount on hand.
- Label and date your jars so you know when they were made.
- Be careful not to overfill the jars. This can cause the jam to overflow during processing.
- Process the jars for the correct amount of time. This will help to ensure that the jam is safe to eat.
- Experiment with different sugar substitutes, such as honey or maple syrup.
Try some Delicious Homemade Jam Recipes
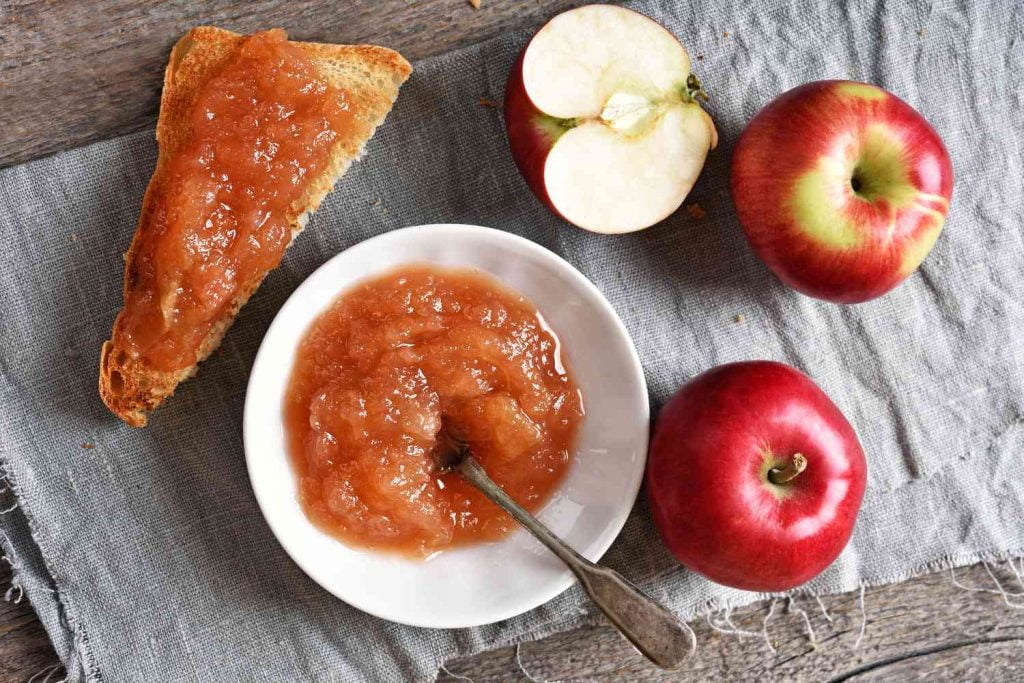
Apple Jam Recipe
Here is a Delicious recipe for homemade apple jam:
Ingredients:
- 4 pounds apples, peeled, cored, and chopped
- 3 cups sugar
- 1/4 cup lemon juice
- 1 teaspoon ground cinnamon
- 1/2 teaspoon ground nutmeg
Instructions:
- In a large saucepan, combine the apples, sugar, lemon juice, cinnamon, and nutmeg.
- Bring to a boil over medium heat, stirring constantly.
- Reduce heat to low and simmer for 30-40 minutes, or until the jam has thickened and the apples are soft.
- Remove from heat and let cool slightly.
- Pour the jam into sterilized jars and seal tightly.
- Let the jars cool completely before storing in a cool, dark place.
Tips:
- For a smoother jam, you can puree the apples before cooking them.
- If you want a tarter jam, you can add more lemon juice.
- You can also add other spices to your jam, such as ginger, cloves, or allspice.
- Be sure to sterilize the jars and lids before filling them with the jam. This will help to prevent the jam from spoiling.
Enjoy your homemade apple jam!
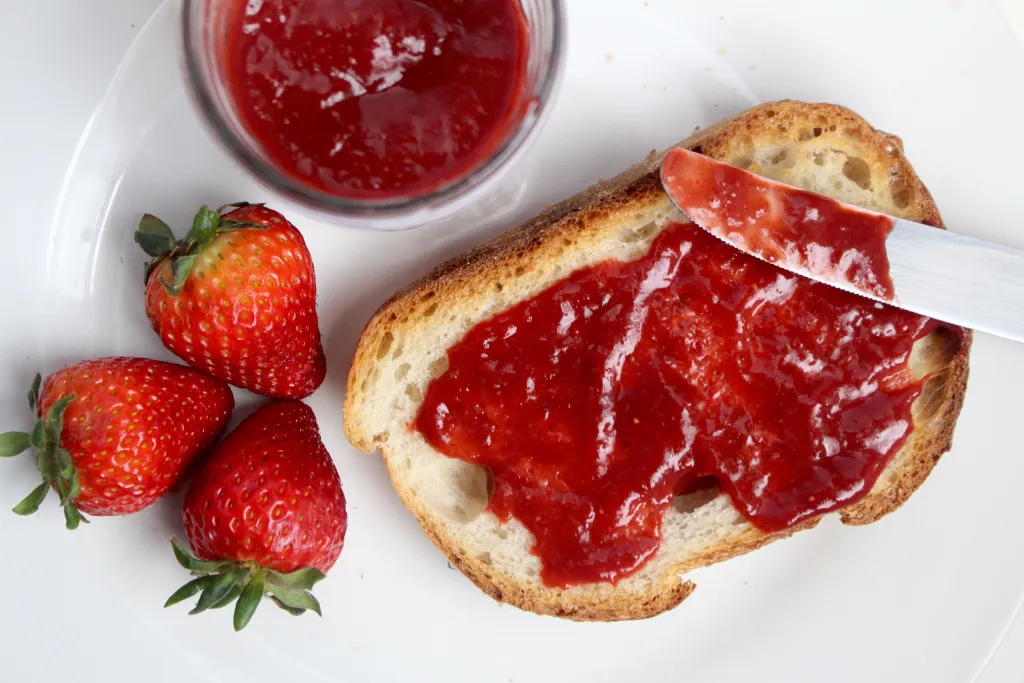
Strawberry Jam Recipe
Here is a recipe for homemade strawberry jam:
Ingredients:
- 4 cups fresh strawberries, hulled and sliced
- 4 cups sugar
- 1/4 cup lemon juice
Instructions:
- In a large saucepan, combine the strawberries, sugar, and lemon juice.
- Bring to a boil over medium heat, stirring constantly.
- Reduce heat to low and simmer for 15-20 minutes, or until the jam has thickened and reached the desired consistency.
- Use a candy thermometer to check the temperature of the jam. The jam is ready when it reaches 220 degrees Fahrenheit.
- Remove from heat and let cool slightly.
- Pour the jam into sterilized jars and seal tightly.
- Let the jars cool completely before storing in a cool, dark place.
Tips:
- For a smoother jam, you can puree the strawberries before cooking them.
- If you want a tarter jam, you can add more lemon juice.
- You can also add other spices to your jam, such as ginger, cloves, or allspice.
- Be sure to sterilize the jars and lids before filling them with the jam. This will help to prevent the jam from spoiling.
Enjoy your homemade strawberry jam!
Here are some additional tips for making homemade strawberry jam:
- Use ripe strawberries. Overripe strawberries will make your jam mushy.
- Don’t overcook the jam. Overcooking will make it hard and grainy.
- If you are using pectin-free jam, you can add a tablespoon of cornstarch to the jam mixture before cooking. This will help to thicken the jam.
- Once the jam is cooked, let it cool slightly before pouring it into jars. This will help to prevent the jars from breaking.
- Store the jars of jam in a cool, dark place. The jam will keep for up to 1 year.
Making fruit jam at home not only allows you to enjoy the flavors of the season but also gives you the opportunity to experiment with different combinations and flavors. Mix strawberries with rhubarb for a tangy twist, add a hint of lavender to your blueberry jam for a floral note, or spice up your peach jam with a touch of cinnamon. The possibilities are endless, and each batch will be a unique reflection of your creativity and taste.
Beyond the joy of indulging in homemade goodness, making fruit jam also offers practical benefits. It allows you to reduce food waste by using up excess fruits before they spoil, and it provides a way to enjoy your favorite fruits all year round. Homemade jam also makes for thoughtful gifts that can be shared with loved ones, spreading happiness one jar at a time.
So, gather your favorite fruits, don your apron, and embark on a jam-making adventure. Preserve the flavors of the season, savor the sweetness of homemade goodness, and experience the pure joy that comes from creating something with your own hands. With each jar of fruit jam, you’ll not only capture the essence of the fruits but also preserve a little piece of homemade happiness.