
Elevate your baking game with our artisanal DIY projects. Uncover the secrets of crafting crusty bread and delicate pastries, infusing your home with the warm aroma of a French bakery.
Table of Contents
Elevate your baking game with our artisanal DIY projects
If you’re looking to elevate your baking game, look no further than artisanal DIY projects. These projects allow you to create crusty breads, delicate pastries, and other delicious treats from scratch, using high-quality ingredients and traditional methods.
In this article, we will uncover the secrets of crafting artisanal baked goods. We will discuss the importance of using quality ingredients, the different types of dough, and the basic baking techniques. We will also provide you with some delicious recipes to get you started.
The importance of using quality ingredients
When it comes to artisanal baking, the quality of the ingredients is essential. This is because the flavor and texture of your baked goods will be directly affected by the ingredients you use.
For breads, it is important to use high-quality flour. This will help to create a dough that is strong and elastic, which is essential for a good rise. You should also use fresh yeast or sourdough starter.
For pastries, it is important to use high-quality butter. This will help to create a flaky and tender dough. You should also use eggs and milk that are at room temperature.
The different types of dough
There are many different types of dough used in artisanal baking. Some of the most common types include:
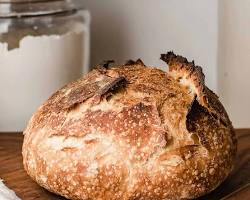
- Sourdough dough: This dough is made with a sourdough starter, which is a mixture of flour and water that has been fermented. Sourdough dough is known for its complex flavor and chewy texture.
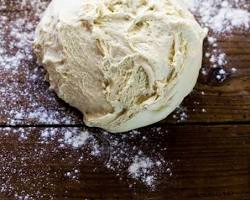
- Yeast dough: This dough is made with yeast, which is a microscopic fungus that causes dough to rise. Yeast dough is the most common type of dough used in baking.
- Shortening dough: This dough is made with shortening, which is a type of fat that is solid at room temperature. Shortening dough is known for its flaky texture.
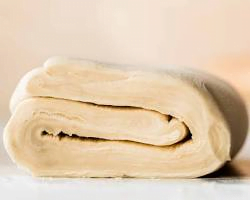
- Puff pastry dough: This dough is made with multiple layers of dough and butter. Puff pastry dough is known for its light and airy texture.
The basic baking techniques
There are a few basic baking techniques that are essential for artisanal baking. These techniques include:
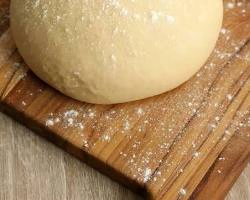
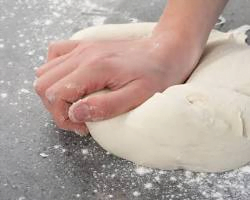
- Kneading: Kneading is the process of mixing and folding dough until it is smooth and elastic. Kneading helps to develop the gluten in the dough, which is essential for a good rise.
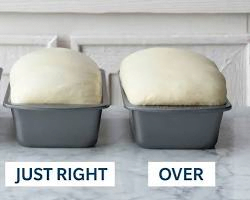
- Proofing: Proofing is the process of letting dough rise in a warm place. Proofing allows the dough to develop flavor and texture.
- Baking: Baking is the process of cooking dough in an oven. The baking time will vary depending on the type of dough and the desired results.
Delicious recipes to get you started
Once you have mastered the basics of artisanal baking, you can start experimenting with different recipes. Here are a few delicious recipes to get you started:
- Sourdough bread: This is a classic recipe that is perfect for beginners.
Here is a sourdough bread recipe:
Ingredients:
- 1 cup (250g) active sourdough starter
- 1 3/4 cups (425g) warm water (105-115°F)
- 3 3/4 cups (500g) bread flour, plus more for dusting
- 2 teaspoons (10g) fine sea salt
Instructions:
- In a large bowl, combine the sourdough starter, water, and flour. Stir until a shaggy dough forms.
- Cover the bowl with plastic wrap and let the dough rest at room temperature for 30 minutes.
- After 30 minutes, add the salt to the dough and mix until it is evenly distributed.
- Turn the dough out onto a lightly floured surface and knead for 10-12 minutes, or until the dough is smooth and elastic.
- Place the dough in a lightly greased bowl, cover it with plastic wrap, and let it rise in a warm place for 1 hour, or until doubled in size.
- After 1 hour, punch down the dough and shape it into a loaf.
- Place the loaf in a greased 9×5 inch loaf pan and cover it with plastic wrap. Let the loaf rise in a warm place for 1 hour, or until doubled in size.
- Preheat the oven to 450°F.
- Bake the loaf for 30-35 minutes, or until golden brown.
- Let the bread cool on a wire rack before slicing and serving.
Tips:
- If you don’t have a sourdough starter, you can buy one online or from a local bakery.
- If you don’t have bread flour, you can use all-purpose flour, but the bread will not be as chewy.
- If the dough is too sticky, add more flour, 1 tablespoon at a time.
- If the dough is too dry, add more water, 1 tablespoon at a time.
- Don’t over-knead the dough, or it will become tough.
- Let the dough rise in a warm place, away from drafts.
- Don’t overbake the bread, or it will become dry.
Enjoy your homemade sourdough bread!
- Pain au chocolat: These flaky pastries are a delicious treat for breakfast or brunch.

here is a pain au chocolat recipe:
Ingredients:
- 500g strong white bread flour
- 50g caster sugar
- 10g fine sea salt
- 135ml whole milk
- 135ml water
- 20g fresh yeast or 7g sachet fast-action dried yeast
- 50g unsalted butter, softened
- 100g good quality dark chocolate, chopped
Instructions:
- In the bowl of a stand mixer fitted with the dough hook, combine the flour, sugar, and salt.
- In a jug, whisk together the milk, water, and yeast.
- With the mixer on low speed, slowly pour the wet ingredients into the dry ingredients.
- Once all the wet ingredients have been incorporated, increase the mixer speed to medium and knead the dough for 5-7 minutes, or until it is smooth and elastic.
- Add the softened butter to the dough and knead for an additional 5-7 minutes, or until the dough is shiny and smooth.
- Place the dough in a lightly greased bowl, cover it with plastic wrap, and let it rise in a warm place for 1 hour, or until doubled in size.
- After 1 hour, punch down the dough and roll it out into a 20x30cm rectangle.
- Spread the chocolate evenly over the dough, leaving a 1cm border around the edges.
- Roll the dough up tightly, starting from the long side.
- Cut the dough into 12 equal pieces.
- Place the croissants on a baking sheet lined with parchment paper. Cover them with plastic wrap and let them rise in a warm place for 30 minutes, or until doubled in size.
- Preheat the oven to 190°C (375°F).
- Brush the croissants with beaten egg.
- Bake the croissants for 20-25 minutes, or until golden brown.
- Let the croissants cool on a wire rack before serving.
Tips:
- If you don’t have a stand mixer, you can knead the dough by hand.
- If you don’t have a pastry brush, you can use a spoon to brush the croissants with beaten egg.
- If you don’t have parchment paper, you can grease the baking sheet.
- Don’t overbake the croissants, or they will become dry.
Enjoy your homemade pain au chocolat!
- Croissants: These buttery pastries are a classic French treat.

Here is a croissant recipe:
Ingredients:
- 500g strong white bread flour, plus more for dusting
- 75g caster sugar
- 10g fine sea salt
- 10g instant yeast
- 150ml warm milk
- 150ml water
- 200g unsalted butter, chilled and cut into small pieces
Instructions:
- In the bowl of a stand mixer fitted with the dough hook, combine the flour, sugar, and salt.
- In a jug, whisk together the milk, water, and yeast.
- With the mixer on low speed, slowly pour the wet ingredients into the dry ingredients.
- Once all the wet ingredients have been incorporated, increase the mixer speed to medium and knead the dough for 5-7 minutes, or until it is smooth and elastic.
- Add the chilled butter to the dough, a few pieces at a time, and knead until the butter is incorporated and the dough is smooth and shiny.
- Place the dough in a lightly greased bowl, cover it with plastic wrap, and let it rise in a warm place for 1 hour, or until doubled in size.
- After 1 hour, punch down the dough and roll it out into a 30x40cm rectangle.
- Fold the dough in thirds, like a letter.
- Wrap the dough in plastic wrap and refrigerate for at least 30 minutes, or up to overnight.
- After the dough has chilled, roll it out again into a 30x40cm rectangle.
- Fold the dough in thirds again, wrap it in plastic wrap, and refrigerate for another 30 minutes.
- Repeat the rolling and folding process one more time.
- After the final fold, roll the dough out into a 30x20cm rectangle.
- Cut the dough into 12 equal triangles.
- Starting at the wide end of each triangle, roll the dough up tightly.
- Place the croissants on a baking sheet lined with parchment paper. Cover them with plastic wrap and let them rise in a warm place for 1 hour, or until doubled in size.
- Preheat the oven to 190°C (375°F).
- Brush the croissants with beaten egg.
- Bake the croissants for 20-25 minutes, or until golden brown.
- Let the croissants cool on a wire rack before serving.
Tips:
- If you don’t have a stand mixer, you can knead the dough by hand.
- If you don’t have a pastry brush, you can use a spoon to brush the croissants with beaten egg.
- If you don’t have parchment paper, you can grease the baking sheet.
- Don’t overbake the croissants, or they will become dry.
Enjoy your homemade croissants!
Here are some additional tips for making croissants:
- Use high-quality ingredients, especially the butter.
- Be patient and don’t rush the process.
- Don’t overwork the dough, or it will become tough.
- Let the dough rise in a warm place, away from drafts.
- Don’t overbake the croissants, or they will become dry.
- Danish pastries: These sweet pastries are filled with a variety of delicious fillings.
Here is a Danish pastry recipe:
Ingredients:
- 500g strong white bread flour, plus more for dusting
- 50g caster sugar
- 10g fine sea salt
- 10g instant yeast
- 150ml warm milk
- 150ml water
- 200g unsalted butter, chilled and cut into small pieces
- 1 egg, beaten, for glazing
- Filling of your choice (e.g., cinnamon sugar, almond paste, or chocolate)
Instructions:
- In the bowl of a stand mixer fitted with the dough hook, combine the flour, sugar, and salt.
- In a jug, whisk together the milk, water, and yeast.
- With the mixer on low speed, slowly pour the wet ingredients into the dry ingredients.
- Once all the wet ingredients have been incorporated, increase the mixer speed to medium and knead the dough for 5-7 minutes, or until it is smooth and elastic.
- Add the chilled butter to the dough, a few pieces at a time, and knead until the butter is incorporated and the dough is smooth and shiny.
- Place the dough in a lightly greased bowl, cover it with plastic wrap, and let it rise in a warm place for 1 hour, or until doubled in size.
- After 1 hour, punch down the dough and roll it out into a 30x40cm rectangle.
- Spread the filling of your choice over the dough, leaving a 1cm border around the edges.
- Roll the dough up tightly, starting from the long side.
- Cut the dough into 12 equal pieces.
- Place the Danish pastries on a baking sheet lined with parchment paper. Cover them with plastic wrap and let them rise in a warm place for 30 minutes, or until doubled in size.
- Preheat the oven to 190°C (375°F).
- Brush the Danish pastries with beaten egg.
- Bake the Danish pastries for 20-25 minutes, or until golden brown.
- Let the Danish pastries cool on a wire rack before serving.
Tips:
- If you don’t have a stand mixer, you can knead the dough by hand.
- If you don’t have a pastry brush, you can use a spoon to brush the Danish pastries with beaten egg.
- If you don’t have parchment paper, you can grease the baking sheet.
- Don’t overbake the Danish pastries, or they will become dry.
Enjoy your homemade Danish pastries!
Here are some additional tips for making Danish pastries:
- Use high-quality ingredients, especially the butter.
- Be patient and don’t rush the process.
- Don’t overwork the dough, or it will become tough.
- Let the dough rise in a warm place, away from drafts.
- Don’t overbake the Danish pastries, or they will become dry.
For different fillings, here are some ideas:
- Cinnamon sugar: Mix together 1/2 cup (100g) sugar and 1 teaspoon ground cinnamon.
- Almond paste: Spread 1/2 cup (125g) almond paste over the dough.
- Chocolate: Melt 1/2 cup (100g) chocolate chips and spread them over the dough.
You can also get creative and come up with your own filling ideas.
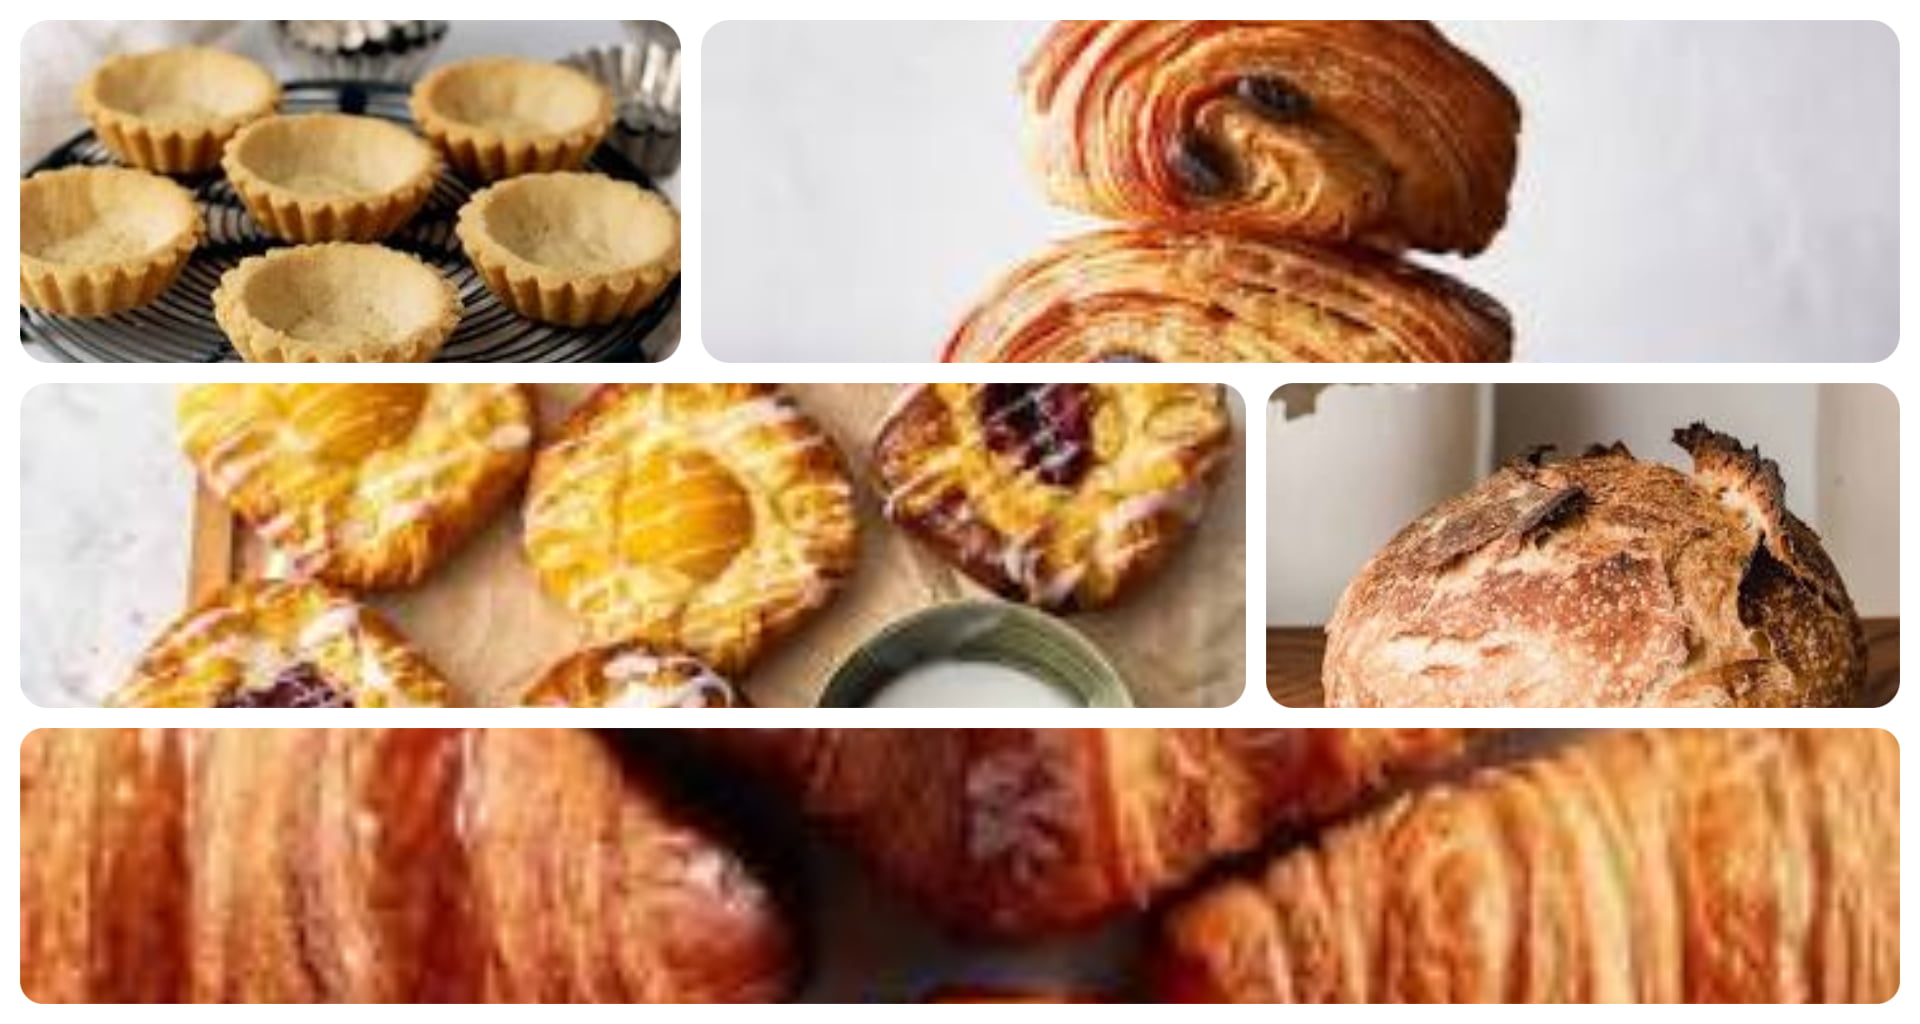
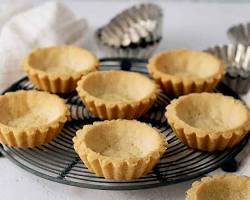
- Tarts: These pastries are made with a flaky crust and a variety of sweet or savory fillings.

Here is a simple tart recipe that you can try:
Ingredients:
- 1 cup all-purpose flour
- 1/4 cup cold butter, cut into small pieces
- 1/4 teaspoon salt
- 1-2 tablespoons ice water
- Filling of your choice (e.g., fruit, custard, or cheese)
Instructions:
- Preheat oven to 400 degrees F (200 degrees C).
- In a medium bowl, combine flour and salt.
- Add butter and use your fingers to work it into the flour until the mixture resembles coarse crumbs.
- Drizzle in ice water, 1 tablespoon at a time, tossing with a fork until the dough just comes together.
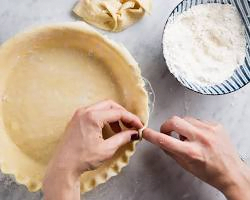
- Gather the dough into a ball and press it into a 9-inch tart pan.
- Trim the excess dough and prick the bottom of the crust with a fork.
- Line the crust with parchment paper and fill with pie weights or dried beans.
- Bake for 15 minutes, or until the crust is golden brown.
- Remove the parchment paper and pie weights and bake for an additional 5 minutes, or until the crust is dry.
- Let the crust cool completely before filling.
To fill the tart:
- Spread the filling of your choice over the cooled crust.
- Bake for 30-35 minutes, or until the filling is set.
Here are some ideas for tart fillings:
- Fruit: Fresh fruit, such as strawberries, blueberries, or raspberries, or canned fruit, such as peaches or pears.
- Custard: Vanilla custard, lemon custard, or chocolate custard.
- Cheese: Cream cheese, ricotta cheese, or goat cheese.
You can also get creative and come up with your own filling ideas.
Enjoy your homemade tart!
Conclusion
Artisanal baking is a rewarding hobby that can be enjoyed by people of all skill levels. With a little practice, you can learn to create delicious and beautiful baked goods that will impress your friends and family.
So what are you waiting for? Get started today!